 https://mylocalhandyman.au/wp-content/uploads/2023/11/step-by-step-guide-to-fixing-a-leaky-tap.webp
1500
2250
jarrad
https://mylocalhandyman.au/wp-content/uploads/2023/06/my-local-handyman-1-300x300.png
jarrad2023-12-15 09:18:502024-04-10 00:14:40Step-By-Step Guide to Fixing a Leaky Tap
https://mylocalhandyman.au/wp-content/uploads/2023/11/step-by-step-guide-to-fixing-a-leaky-tap.webp
1500
2250
jarrad
https://mylocalhandyman.au/wp-content/uploads/2023/06/my-local-handyman-1-300x300.png
jarrad2023-12-15 09:18:502024-04-10 00:14:40Step-By-Step Guide to Fixing a Leaky Tap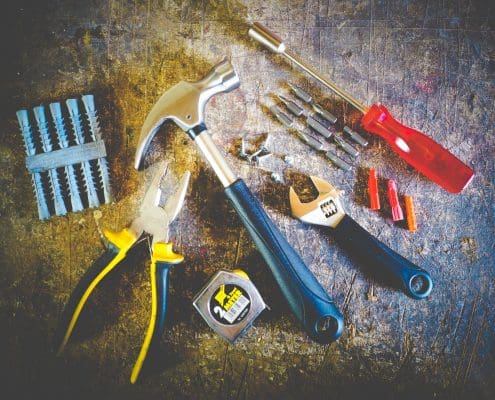 https://mylocalhandyman.au/wp-content/uploads/2023/11/top-10-tools-every-handyman-should-own.jpeg
1500
2000
jarrad
https://mylocalhandyman.au/wp-content/uploads/2023/06/my-local-handyman-1-300x300.png
jarrad2023-12-07 09:18:432024-04-10 00:09:25Top 10 Tools Every Handyman Should Own
https://mylocalhandyman.au/wp-content/uploads/2023/11/top-10-tools-every-handyman-should-own.jpeg
1500
2000
jarrad
https://mylocalhandyman.au/wp-content/uploads/2023/06/my-local-handyman-1-300x300.png
jarrad2023-12-07 09:18:432024-04-10 00:09:25Top 10 Tools Every Handyman Should Own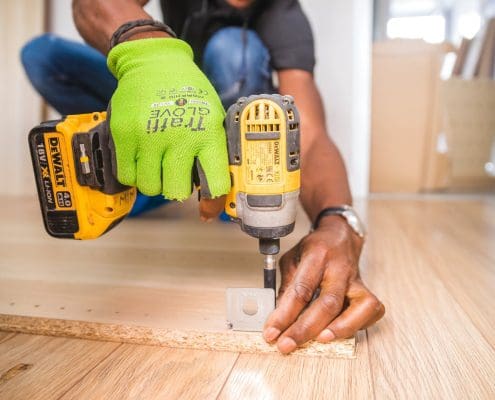 https://mylocalhandyman.au/wp-content/uploads/2023/11/tips-for-safely-using-power-tools-in-diy-projects.jpeg
1500
2250
jarrad
https://mylocalhandyman.au/wp-content/uploads/2023/06/my-local-handyman-1-300x300.png
jarrad2023-12-02 09:15:262024-04-10 00:08:03Tips for Safely Using Power Tools in DIY Projects
https://mylocalhandyman.au/wp-content/uploads/2023/11/tips-for-safely-using-power-tools-in-diy-projects.jpeg
1500
2250
jarrad
https://mylocalhandyman.au/wp-content/uploads/2023/06/my-local-handyman-1-300x300.png
jarrad2023-12-02 09:15:262024-04-10 00:08:03Tips for Safely Using Power Tools in DIY Projects