
 https://mylocalhandyman.au/wp-content/uploads/2023/11/easy-home-repairs-you-can-do-in-a-weekend.webp
1500
2247
jarrad
https://mylocalhandyman.au/wp-content/uploads/2023/06/my-local-handyman-1-300x300.png
jarrad2023-11-29 09:15:262024-04-10 00:06:02Easy Home Repairs You Can Do in a Weekend
https://mylocalhandyman.au/wp-content/uploads/2023/11/easy-home-repairs-you-can-do-in-a-weekend.webp
1500
2247
jarrad
https://mylocalhandyman.au/wp-content/uploads/2023/06/my-local-handyman-1-300x300.png
jarrad2023-11-29 09:15:262024-04-10 00:06:02Easy Home Repairs You Can Do in a Weekend https://mylocalhandyman.au/wp-content/uploads/2023/11/installing-a-new-light-fixture-what-you-need-to-know.webp
1500
2250
jarrad
https://mylocalhandyman.au/wp-content/uploads/2023/06/my-local-handyman-1-300x300.png
jarrad2023-11-25 09:15:282024-04-10 00:04:39Installing a New Light Fixture: What You Need to Know
https://mylocalhandyman.au/wp-content/uploads/2023/11/installing-a-new-light-fixture-what-you-need-to-know.webp
1500
2250
jarrad
https://mylocalhandyman.au/wp-content/uploads/2023/06/my-local-handyman-1-300x300.png
jarrad2023-11-25 09:15:282024-04-10 00:04:39Installing a New Light Fixture: What You Need to Know https://mylocalhandyman.au/wp-content/uploads/2023/11/how-to-properly-paint-a-room-tips-from-a-handyman.webp
1500
2250
jarrad
https://mylocalhandyman.au/wp-content/uploads/2023/06/my-local-handyman-1-300x300.png
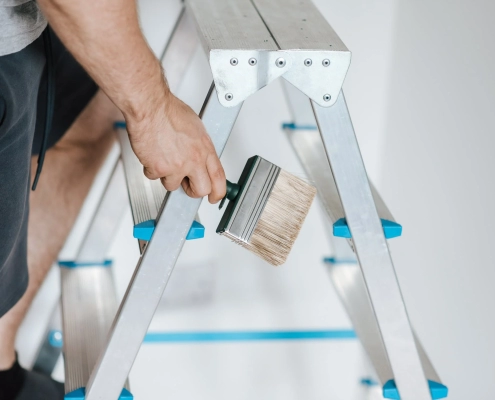
jarrad2023-11-22 09:15:292024-04-10 00:03:23How to Properly Paint a Room: Tips from a Handyman
https://mylocalhandyman.au/wp-content/uploads/2023/11/how-to-properly-paint-a-room-tips-from-a-handyman.webp
1500
2250
jarrad
https://mylocalhandyman.au/wp-content/uploads/2023/06/my-local-handyman-1-300x300.png
jarrad2023-11-22 09:15:292024-04-10 00:03:23How to Properly Paint a Room: Tips from a Handyman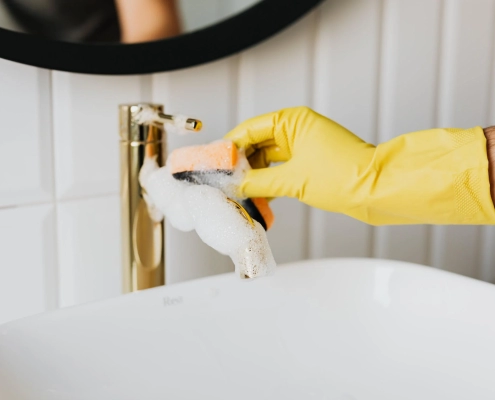 https://mylocalhandyman.au/wp-content/uploads/2023/11/importance-of-regular-home-maintenance-checks.webp
1500
2250
jarrad
https://mylocalhandyman.au/wp-content/uploads/2023/06/my-local-handyman-1-300x300.png
jarrad2023-11-18 09:15:302024-04-10 00:01:36Importance of Regular Home Maintenance Checks
https://mylocalhandyman.au/wp-content/uploads/2023/11/importance-of-regular-home-maintenance-checks.webp
1500
2250
jarrad
https://mylocalhandyman.au/wp-content/uploads/2023/06/my-local-handyman-1-300x300.png
jarrad2023-11-18 09:15:302024-04-10 00:01:36Importance of Regular Home Maintenance Checks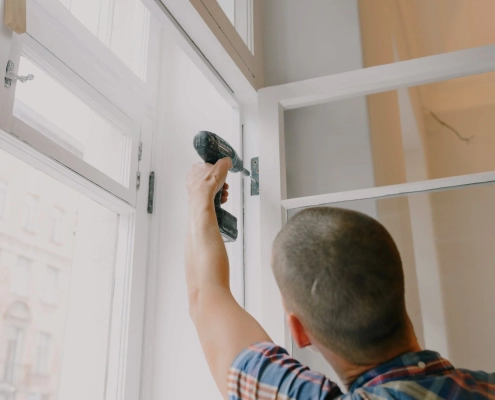 https://mylocalhandyman.au/wp-content/uploads/2023/11/what-to-look-for-when-hiring-a-professional-handyman.webp
1500
2247
jarrad
https://mylocalhandyman.au/wp-content/uploads/2023/06/my-local-handyman-1-300x300.png
jarrad2023-11-14 09:15:322024-04-10 00:49:15What to Look for When Hiring a Professional Handyman
https://mylocalhandyman.au/wp-content/uploads/2023/11/what-to-look-for-when-hiring-a-professional-handyman.webp
1500
2247
jarrad
https://mylocalhandyman.au/wp-content/uploads/2023/06/my-local-handyman-1-300x300.png
jarrad2023-11-14 09:15:322024-04-10 00:49:15What to Look for When Hiring a Professional Handyman https://mylocalhandyman.au/wp-content/uploads/2023/11/pros-and-cons-of-flat-pack-furniture-assembly.webp
1500
2156
jarrad
https://mylocalhandyman.au/wp-content/uploads/2023/06/my-local-handyman-1-300x300.png
jarrad2023-11-09 09:15:342024-04-10 00:46:32Pros and Cons of Flat-Pack Furniture Assembly
https://mylocalhandyman.au/wp-content/uploads/2023/11/pros-and-cons-of-flat-pack-furniture-assembly.webp
1500
2156
jarrad
https://mylocalhandyman.au/wp-content/uploads/2023/06/my-local-handyman-1-300x300.png
jarrad2023-11-09 09:15:342024-04-10 00:46:32Pros and Cons of Flat-Pack Furniture Assembly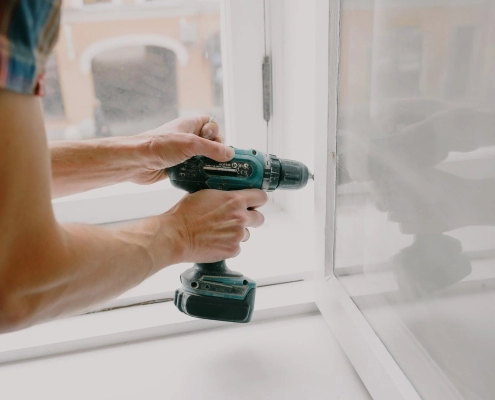 https://mylocalhandyman.au/wp-content/uploads/2023/11/five-quick-fixes-for-common-household-problems.webp
1500
2247
jarrad
https://mylocalhandyman.au/wp-content/uploads/2023/06/my-local-handyman-1-300x300.png
jarrad2023-11-05 09:15:342024-04-10 00:39:04Five Quick Fixes for Common Household Problems
https://mylocalhandyman.au/wp-content/uploads/2023/11/five-quick-fixes-for-common-household-problems.webp
1500
2247
jarrad
https://mylocalhandyman.au/wp-content/uploads/2023/06/my-local-handyman-1-300x300.png
jarrad2023-11-05 09:15:342024-04-10 00:39:04Five Quick Fixes for Common Household Problems https://mylocalhandyman.au/wp-content/uploads/2023/11/how-to-choose-the-right-screws-and-nails-for-your-diy-project.jpeg
1500
2265
jarrad
https://mylocalhandyman.au/wp-content/uploads/2023/06/my-local-handyman-1-300x300.png
jarrad2023-11-03 09:19:492024-04-10 00:37:43How to Choose the Right Screws and Nails for Your DIY Project
https://mylocalhandyman.au/wp-content/uploads/2023/11/how-to-choose-the-right-screws-and-nails-for-your-diy-project.jpeg
1500
2265
jarrad
https://mylocalhandyman.au/wp-content/uploads/2023/06/my-local-handyman-1-300x300.png
jarrad2023-11-03 09:19:492024-04-10 00:37:43How to Choose the Right Screws and Nails for Your DIY Project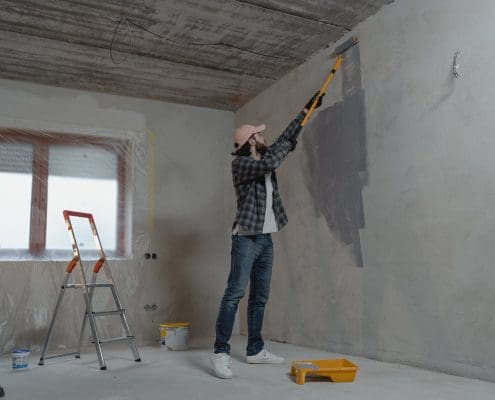 https://mylocalhandyman.au/wp-content/uploads/2023/11/diy-vs-hiring-a-handyman-when-to-make-the-call.jpeg
1500
2250
jarrad
https://mylocalhandyman.au/wp-content/uploads/2023/06/my-local-handyman-1-300x300.png
jarrad2023-11-01 08:56:082024-04-10 00:36:34DIY vs. Hiring a Handyman: When to Make the Call
https://mylocalhandyman.au/wp-content/uploads/2023/11/diy-vs-hiring-a-handyman-when-to-make-the-call.jpeg
1500
2250
jarrad
https://mylocalhandyman.au/wp-content/uploads/2023/06/my-local-handyman-1-300x300.png
jarrad2023-11-01 08:56:082024-04-10 00:36:34DIY vs. Hiring a Handyman: When to Make the Call